
If you’re considering a career in technology and plan to work for government facilities such as the Department of Defense or any other government agency, then it’s crucial to understand STIG Compliance requirements. Implementing STIG Compliance will be a significant part of your daily tasks, so it’s important to understand how to handle them.
What is STIG Compliance?
STIG stands for Security Technical Implementation Guide. STIGs are documentation that provides guidance for securing hardware, software, and network systems. Another term for STIGs is “hardening,” which means securing that hardware, software, or network system. The benefit of STIGs is that they provide a consistent way of securing hardware, software, and network systems, making them less susceptible to infiltrations and attacks by bad actors.
STIG Checklists
STIG documentation is referred to as STIG Checklists. STIG Checklists specify the hardening requirements for the hardware, software, or network system, which includes the procedure to secure that component. Proper implementation of STIGs is essential for safeguarding data from bad actors.
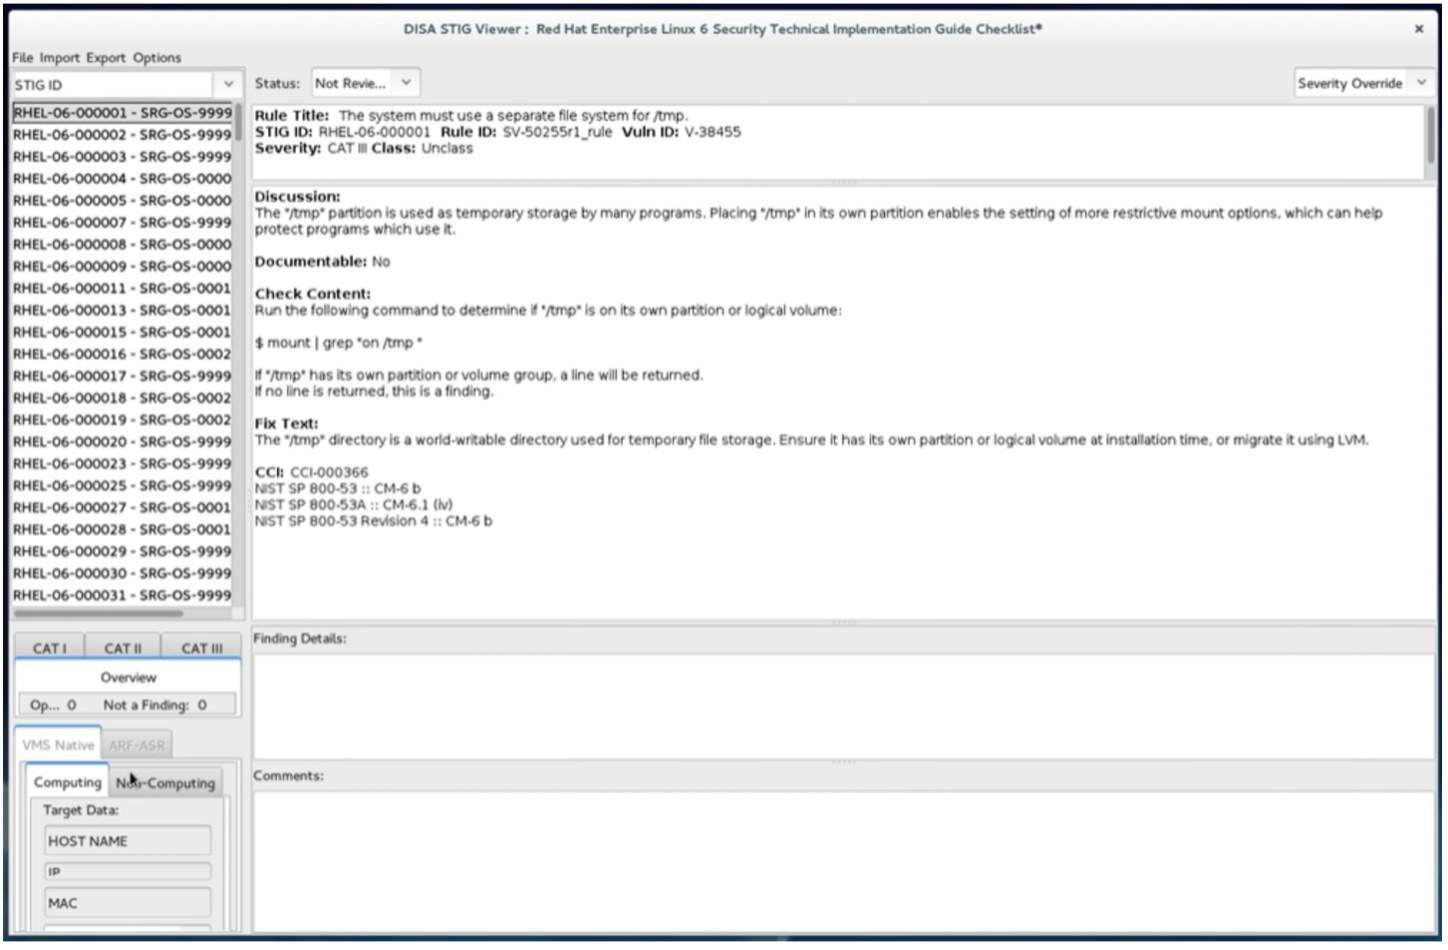
A STIG Checklist contains these sections:
- Overview
- Findings
- Finding Status
- Finding Details
- Comments
- Search Bar
The Overview section provides information about the hardware system, software product, or network resources. It includes a description, the STIG version, and the date.
The Findings section highlights the vulnerabilities associated with a component for hardening. There can be many Finding sections (sometimes upward of 100 or more), each having fields for an ID, severity, title, and description. Findings are categorized as either High or CAT 1, Medium or CAT 2, or Low or CAT 3. Depending on your management policies, CAT 1 and 2 Findings may be designated as mandatory for implementation, while immediately resolving CAT 3 Findings might be optional.
Another essential section is the Finding Status. The Finding Status is a drop-down control that has choices for “Not Reviewed,” “Open,” “Not a Finding,” or “Not Applicable”. The engineer responsible for a particular STIG will set the status during the STIG evaluation for implementation.
The Finding Details section provides more details about the finding status. For example, if the Finding Status is selected as ‘Not Applicable’ an engineer can use the Finding Details section to obtain more information.
The Comments section can be used to provide additional technical details about the STIG implementation.
Finally, the Search Bar provides the ability to filter by Category and host name to isolate checklists and findings to a specific selection under investigation.
The STIG Checklist Viewer
STIG Checklists can be viewed using STIG Viewer. STIG Viewer can be downloaded from the DoD CYBER Exchange website and is available for Windows or Linux Operating Systems. There are also online STIG viewers available.
STIG Implementation Process
When implementing STIGs, an engineer will usually start with the high severity (or CAT 1) STIGs, since these should eliminate the most critical vulnerabilities. Then they should handle the CAT 2s, and if required, the CAT 3s. Typically, the CAT 1 STIGs are the hardest to implement but should provide the most security.
Implementing a Splunk Access Control STIG
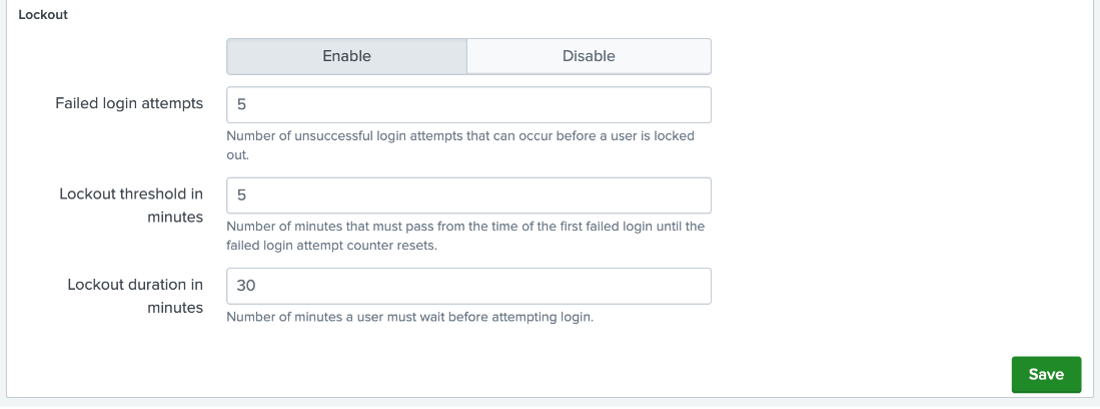
To understand STIG, let’s implement steps you might encounter for Splunk STIGs. Let us examine a CAT 2 STIG for access control. The STIG ID we will look at is V-251659. From the description, Splunk Enterprise must enforce a limit of three consecutive invalid logon attempts within 15 minutes. This STIG will reduce unauthorized access from hackers attempting to guess a password.
The Checklist will provide a procedure for implementing the STIG, however, the actual steps might be something like the following:
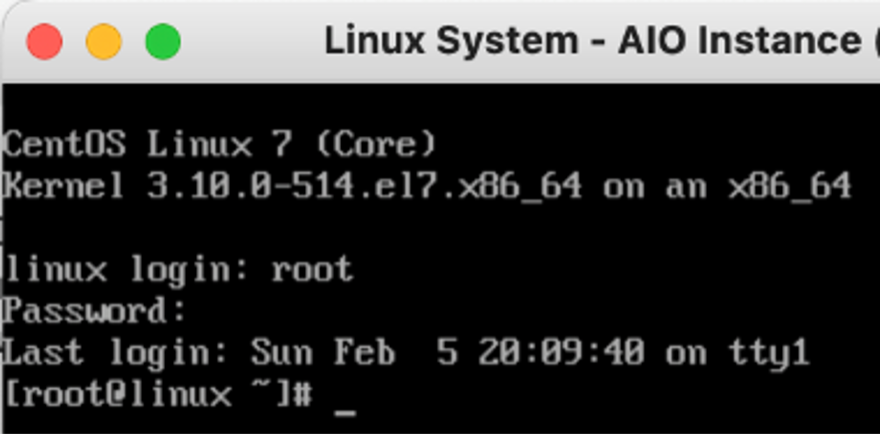
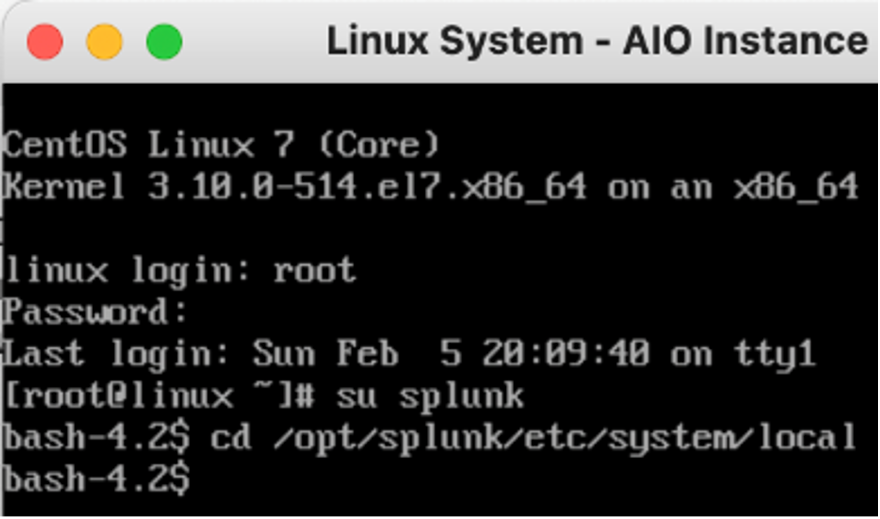
Use a Secure Shell (SSH) client to log into the Splunk system.
Change Directory to $SPLUNK_HOME/etc/system/local directory.
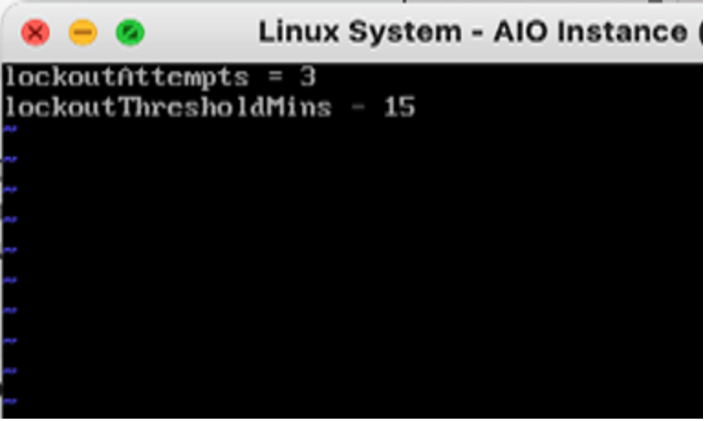
Find or create a configuration file and call it authentication.conf.

Edit the file and add these two parameters: lockoutAttempts = 3, lockoutThresholdMins = 15.
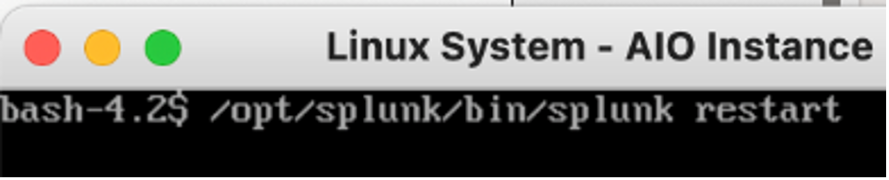
Restart the Splunk Process.
Once the implementation of the STIG finding is validated, it should be considered closed. However, the engineer responsible should also be confident that the STIG validation can be successfully demonstrated to an auditor if required.
Implementing Password Complexity Rule Splunk STIG
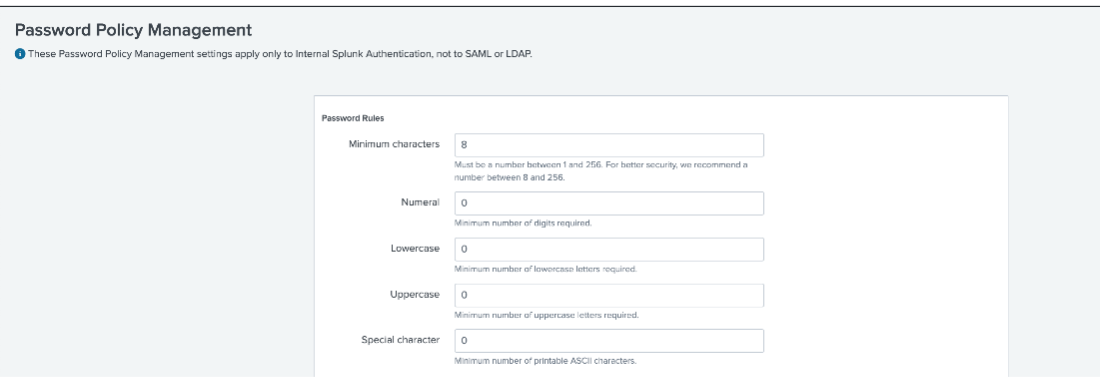
Let’s look at a Splunk STIG requirement for a CAT 3 low severity finding number V-251687. The description requires enforcement of a minimum 15-character password length. The Checklist will provide a detailed procedure for this implementation – the actual steps may resemble the following:
- Open Splunk web console.
- Navigate to menu item: Settings | Password Policy Management.
- Apply 15 characters password length to the ‘Minimum Character’ password rules as shown
Note that we could have also implemented the V-251659 STIG findings using this same Password Policy Management page. This illustrates that there are multiple ways of a STIG implementation can be done.
Conclusion
This was just a basic introduction to STIG compliance. Though out your career in technology, there will be plenty of opportunities to be exposed to STIG systems, software, and networks. You should be aware of the tools available for reviewing STIGs and how to approach a STIG implementation. The Atlas Platform has built a component to manage your STIG Compliance needs. Request a free trial from the button below.
If you found this helpful…
You don’t have to master Splunk by yourself in order to get the most value out of it. Small, day-to-day optimizations of your environment can make all the difference in how you understand and use the data in your Splunk environment to manage all the work on your plate.
Cue Atlas Assessment: Instantly see where your Splunk environment is excelling and opportunities for improvement. From download to results, the whole process takes less than 30 minutes using the button below: