
In many environments, services and dependency hierarchies may be constantly changing. Maybe you are working with a containerized application and your web, application, and database servers are ephemeral. Maybe you are managing a large Citrix environment where resource pools are constantly being created depending on demand. Whatever your situation, if your service topology is dynamic, manually creating new services in Splunk ITSI can be laborious.
By crafting a search that monitors your data and identifies newly created services as well as their relationship to other new or already existing services you can automate the process of ITSI service creation. Follow along on this path to automating the creation of ITSI services in an environment that is dynamic.
Identify Your Entities
As a pre-requisite, you will want to ensure that you have all existing entities imported in ITSI. To guarantee that entities are added as they come into existence following the Splunk guidance for setting up a recurring import of entities in ITSI.
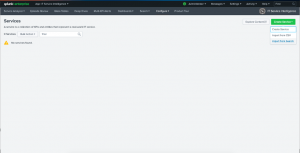
First, navigate to the ITSI Services View.
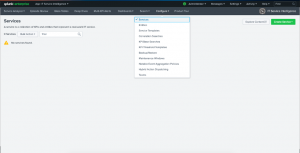
Then, select: Create Service > Import from Search.
Now we craft a search that will accomplish four main goals:
-
- Identify newly created services
- Map out service dependencies
- Associate entities with newly found services
- Associate services with any applicable service templates
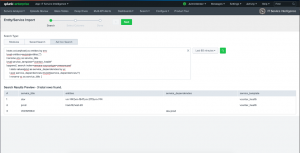
Let’s walk through this search to explain what’s happening…
index=vmware sourcetype=vmware:perf

| stats values(host) as entities by env

| eval entities=mvjoin(entities,",")

| rename env as service_title

| eval service_template="vcenter_health"
This first part of the search is identifying new services, which in this case are representative of VMs that exist within a certain environment. In order to identify these services, we must use fields that currently exist. We use the information within the events to identify entities associated with this new service, and we use the eval command’s mvjoin function to create a comma-separated list of these entities
| append [ search index=vmware sourcetype=vmware:perf
| stats values(env) as service_dependencies by vc

| eval service_dependencies=mvjoin(service_dependencies,",")

| rename vc as service_title  ]
Find Your High-Level Services
This next portion of the search will work to identify higher-level services, for example, services that might include the services created in the first step as service dependencies. In the case that these higher-level services already exist, this portion of the search will serve only to map these to the newly identified services in the first step. We again use the eval command’s mvjoin function to create a comma-separated list of these service dependencies.
On the next page, we map the fields from the results of our search to the Service Title, Dependent Services and Service Template Link. You’ll notice that there isn’t an option here to identify the entities associated with each service, that happens on the next page. At the bottom of the page, you can get a preview of the services that will be imported as well as any dependency relationships that exist between the services that are being created/updated. Once everything looks good, click “Next.”

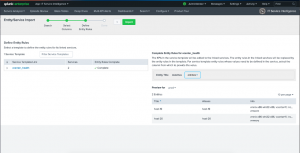
Define Entity Rules
Next, we define any entity rules that are to be associated with a created/updated service. In order for this step to work correctly, you will need to have associated the created service with a service template that includes the Entity Rule (‘matches a value to be defined in the service’). In the dropdown on the right, select the field in your search results that include the comma-separated list of entities. The preview pane will show you the entities that will be associated with each created/updated service. When everything looks good, click “Import.”
When the import has completed you will see the following page:
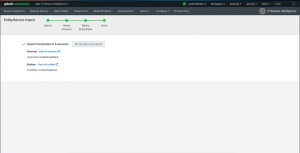
Here are a few more tips to follow once you’ve imported…
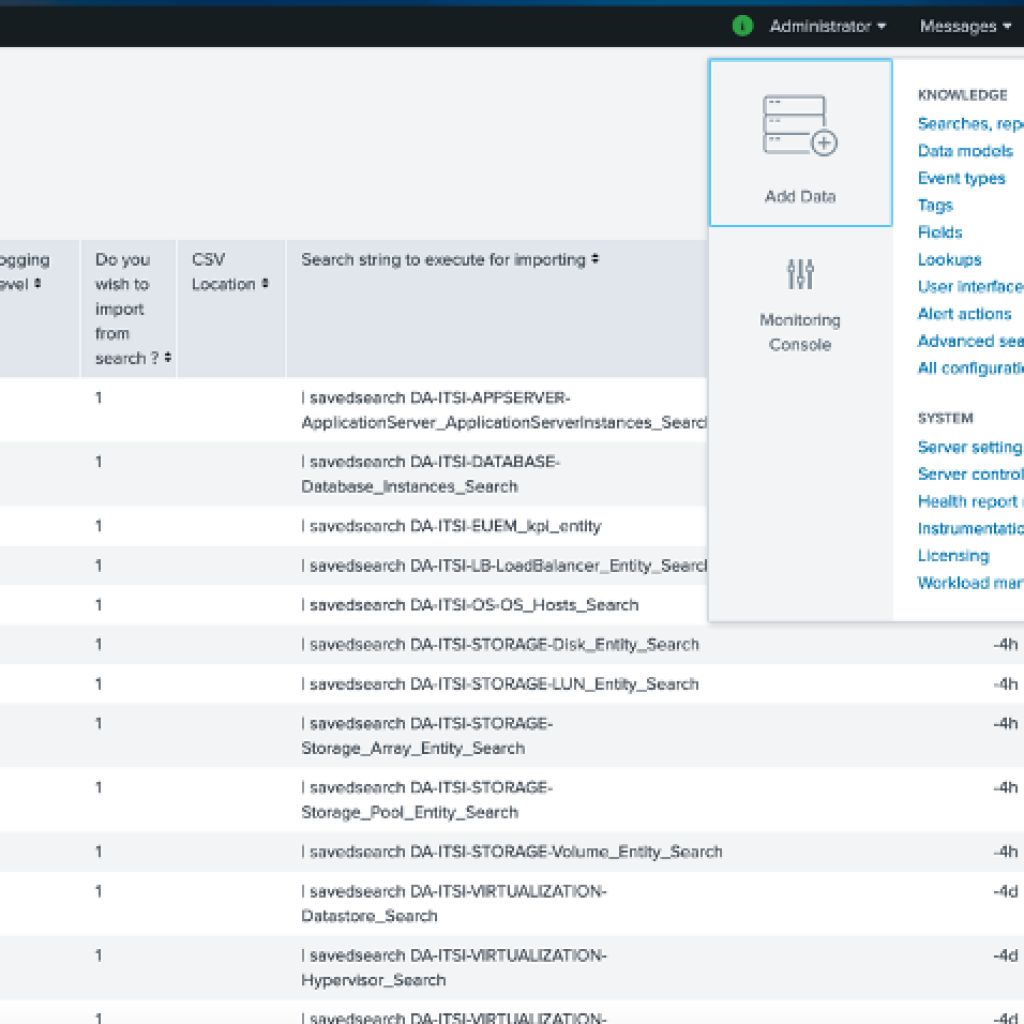
To schedule this import to occur on a recurring basis, select ‘Set Up Recurring Import.’ Then, you can view your newly created import, navigate to Settings > Data inputs and select “IT Service Intelligence CSV Import” from the list.
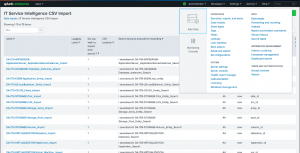
By default, your newly created import uses an update type of UPSERT. This will ensure that existing services are updated rather than being overwritten. You can also adjust the interval on which the import search will run from this page. Start by selecting your created import and checking the “More settings” checkbox on the following page. In this example, we’ve created all services from a single search. If you would prefer to break this down into several different searches, you’ll want to make sure that the searches to create lower-level services run before the searches to create the higher-level services that depend on those lower-level services.
Mission Accomplished
Please use these tips and apply them to your ITSI environment. We want to make your day job easier with Splunk, and automating ITSI service creation is just one way to do it. With experience in all things ITSI and Splunk, we’re packed with expertise in the platform. If you’re interested in speaking with one of our technical experts, let us know below.


